How To Automate Social Media Posting
If you run a business, manage a blog, or just want to keep an active presence online, staying on top of social media posting can eat up a big chunk of your day. That notification to post at the perfect time, juggling content across accounts, and worrying about whether you remembered to celebrate National Pizza Day. Manually, it’s a lot. Scheduling social media posts in advance isn’t just about saving a few minutes. It frees up mental space, helps you show up consistently, and lets you focus your energy on more important tasks.
Automating your posts might sound intimidating, but getting set up is actually pretty straightforward. With the right strategies and tools, even a total beginner can make life way easier. Here’s a practical step-by-step guide to help you automate your social media posting so you stay organized and never miss a beat. Whether you’re looking to build a brand, boost your side hustle, or just find more time in your day, read on for tips that will help smooth the way.
Step 1: Choose Your Social Media Platforms
Before you start scheduling anything, pick which platforms you want to automate. Not every social network needs daily updates or the same strategy. Think about your goals, and prioritize the networks where your time will pay off most.
Questions to Help You Decide:
- Where is your audience most active (Instagram, Facebook, LinkedIn, TikTok, Twitter/X)?
- Do you have specific content types for certain platforms?
- How often do you want to post on each network?
Example Platform Mix:
- Instagram: Photos, Reels, Stories
- Facebook: Updates, Events, Photos
- Twitter/X: Quick messages, news, trending topics
- Pinterest: Infographics, blog visuals, product images
- LinkedIn: Company news, professional tips, thought leadership
Clearing up where you’ll focus your energy helps you choose the right scheduling tool and build a more consistent plan. Sticking with two or three platforms at first can help you avoid spreading yourself too thin and help you track down what works best.
Step 2: Pick an Automation Tool
There are lots of social media scheduling tools out there, all with different strengths and budgets. You don’t have to go fancy on day one; some platforms even offer builtin scheduling for business accounts.
Popular Social Media Scheduling Tools:
- Buffer – Simple and affordable for most platforms
- Hootsuite – Great for teams and bigger content calendars
- Later – Known for visual planning, especially Instagram and TikTok
- Sprout Social – Good for analytics and customer engagement
- Meta Business Suite – Free for Facebook and Instagram accounts
Think about what features matter most: unlimited scheduling, bulk uploads, analytics, or customizable posting times. Many tools offer free trials, so you can test a few to see what feels most userfriendly for your needs. If you’re just starting, pick a tool that fits your workflow and doesn’t overwhelm you with options. As you grow, you can always scale up.
Step 3: Map Out a Content Calendar
Automating random posts isn’t as helpful as having a plan. A simple content calendar keeps your feed balanced and helps you hit important dates, promotions, and fun holidays. It also serves as a reference point, so you don’t run out of ideas or get repetitive.
Tips for Building Your Calendar:
- Decide on themes for each day (Motivation Monday, Throwback Thursday, etc.)
- Highlight important dates: launches, holidays, company milestones
- Mix up post types: stories, photos, videos, links, polls, questions
- Include planned collaborations or guest takeovers
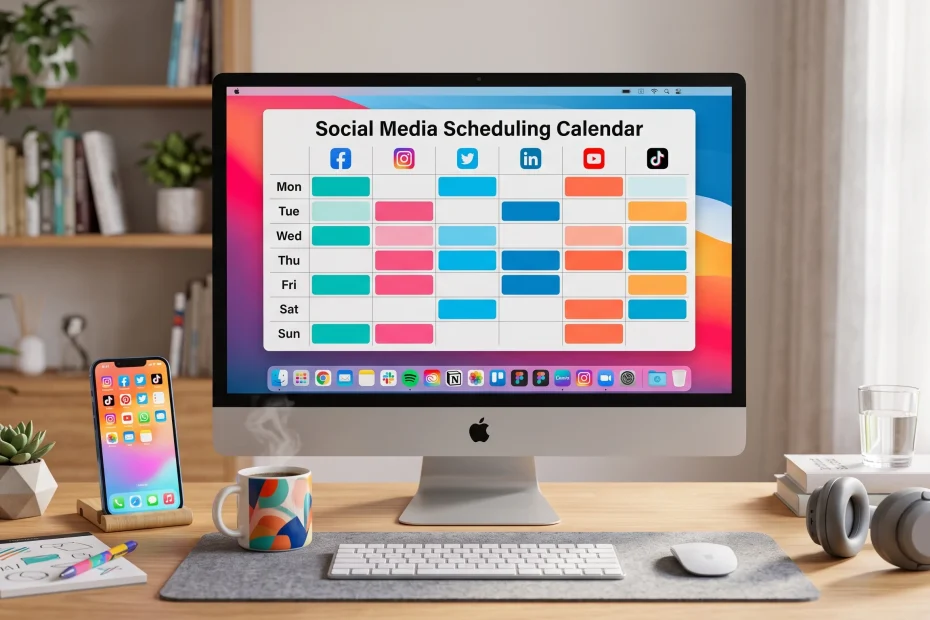
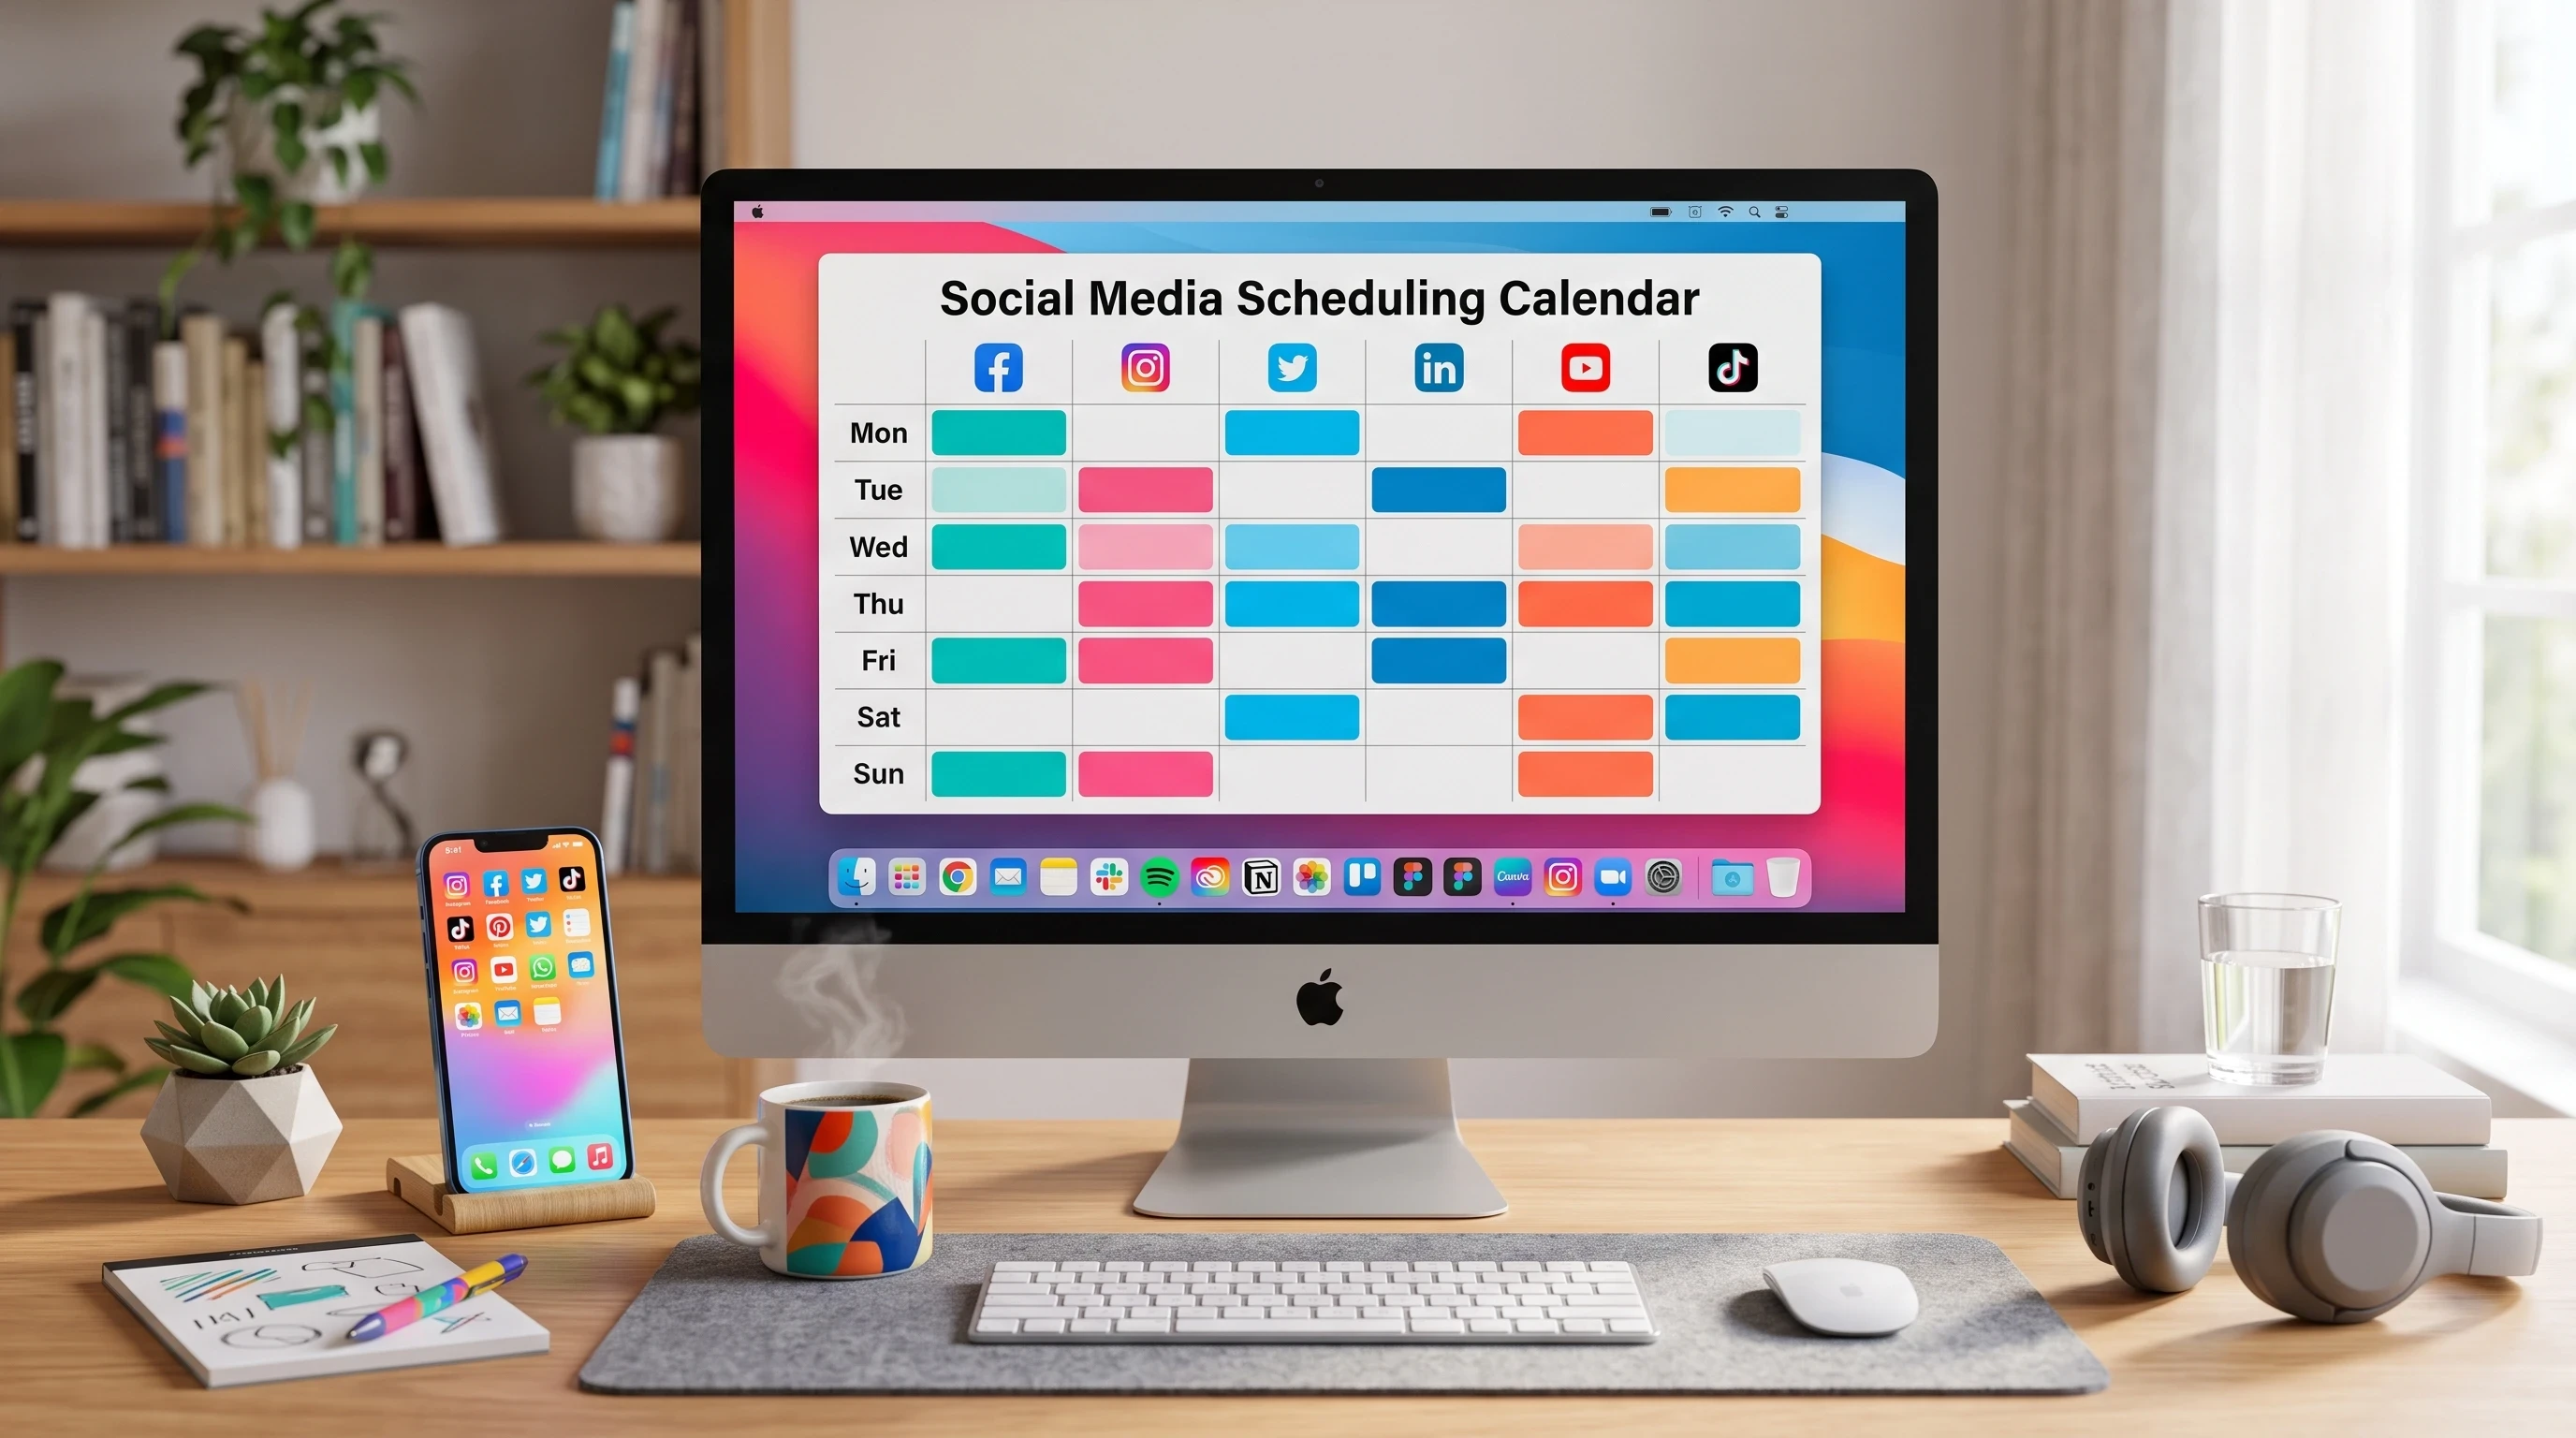
Example Weekly Schedule:
- Monday: Motivation quote or tip
- Wednesday: Product feature or behind the scenes video
- Friday: User generated content or shoutout
Even a basic spreadsheet or Google Calendar works, but most scheduling tools come with a builtin calendar view that’s pretty handy. Keeping your calendar updated also helps with delegation if you decide to bring in help down the line.
Step 4: Create Content in Batches
Batching your content creation can save time and keep your posts consistent. Instead of scrambling to find something to post every day, spend a couple of hours one day a week creating all your graphics, videos, and captions at once.
Content Batching Steps:
- Gather inspiration and ideas (trending hashtags, industry news, big events)
- Draft, design, or film your posts (Canva is super useful for quick graphics)
- Organize your files and text for easy uploading
- Make a backup copy of your work for peace of mind
Batching also makes it easier to keep your branding and tone consistent, since you can see everything before scheduling. If you have a team, batch sessions are a great opportunity to team up and brainstorm together, too.
Step 5: Schedule Posts for the Best Times
Most automation tools suggest the best posting times based on when your audience is online, or you can check your analytics to spot patterns. Posting at the right times helps you get more likes, comments, and shares without having to remember to log in manually.
Tips for Scheduling:
- Find your audience’s peak times using Instagram, Facebook, or LinkedIn Insights
- Spread out posts so your feed doesn’t look spammy
- Save time slots for spontaneous news or viral trends
Some tools even let you set a default time for each post type, so you just drag and drop into your calendar and go. Experiment a bit at first, then settle into a routine that gives your posts the most reach.
Step 6: Monitor Performance & Adjust as You Go
Scheduling posts doesn’t mean you can set and forget everything. Checking in on what’s working and making tweaks is super important for actually growing your presence.
What to Track:
- Which posts get the most engagement (likes, shares, comments)
- Which times and days work best
- Follower growth and clickthrough rates
- Top performing hashtags or themes
Quick Adjustments:
- Move slowperforming posts to a different time
- Double down on content types that get good results
- Tweak hashtags or captions based on engagement
- Test new types of content when your audience seems most active
Most scheduling tools show this data in their dashboard, but you can also use each platform’s builtin analytics. Checking in once a week helps you spot trends and keep improving. Small tweaks can lead to big wins over time.
Step 7: Automate Replies and Engagement (Optional)
Some advanced tools offer more than just posting. Auto reply features and chatbot integrations help you handle customer questions or thank followers automatically, even outside of work hours.
Useful Automation Features:
- Save replies for common DMs or questions
- Set up automatic thankyous or welcome messages
- Filter or flag negative or urgent comments for followup
- Remind yourself about direct mentions that need a personal reply
It’s worth checking your tool or platform settings to see which options are available. Just make sure you still personally check in for meaningful conversations or customer service. Genuine engagement is always worth your time, so automation should only supplement—not replace—your personal touch.
Frequently Asked Questions
Do automated posts hurt engagement?
I’ve noticed that scheduling alone doesn’t hurt engagement, but ignoring replies or never checking in after posting definitely does. Automation works great when you still spend time interacting with your audience.
How far in advance should I schedule content?
- One to two weeks is a good range. Some people plan a month out, but flexibility helps if something timely comes up. A little room to switch up posts lets you take part in fresh conversations trending with your audience.
Can I schedule Stories and Reels?
Some tools (like Later and Meta Business Suite) now let you schedule Stories and Reels, but doublecheck because not every tool offers this for every platform. Always test a new tool before relying on it for important campaigns.
What about hashtags and tagging?
- Most scheduling tools let you add hashtags and tag public pages or profiles, but sometimes tagging has to be added when posting live. Test your tool to see what works best and stay ready to make quick edits if needed.
Taking Action: Your Automation Game Plan
- Pick two or three platforms to focus on and sign up for a free automation tool trial.
- Map out next week’s posts in a content calendar—even just a rough draft.
- Batch create images and captions, then upload them into your scheduler.
- Check in and tweak your schedule based on what works best for your audience.
Automating social media posting isn’t about being less personal. It’s a smart way to make your online presence smoother and free up time for creating better content or just getting away from your phone. Once you’ve tried it, you’ll wonder how you ever did it all by hand. If you’re ready to set free your creativity and boost your results, now’s the perfect time to get into automation and see how much lighter your digital load can feel!
TIP: Use the new AI tools from Wealthy Affiliate, such as automated social media posts.